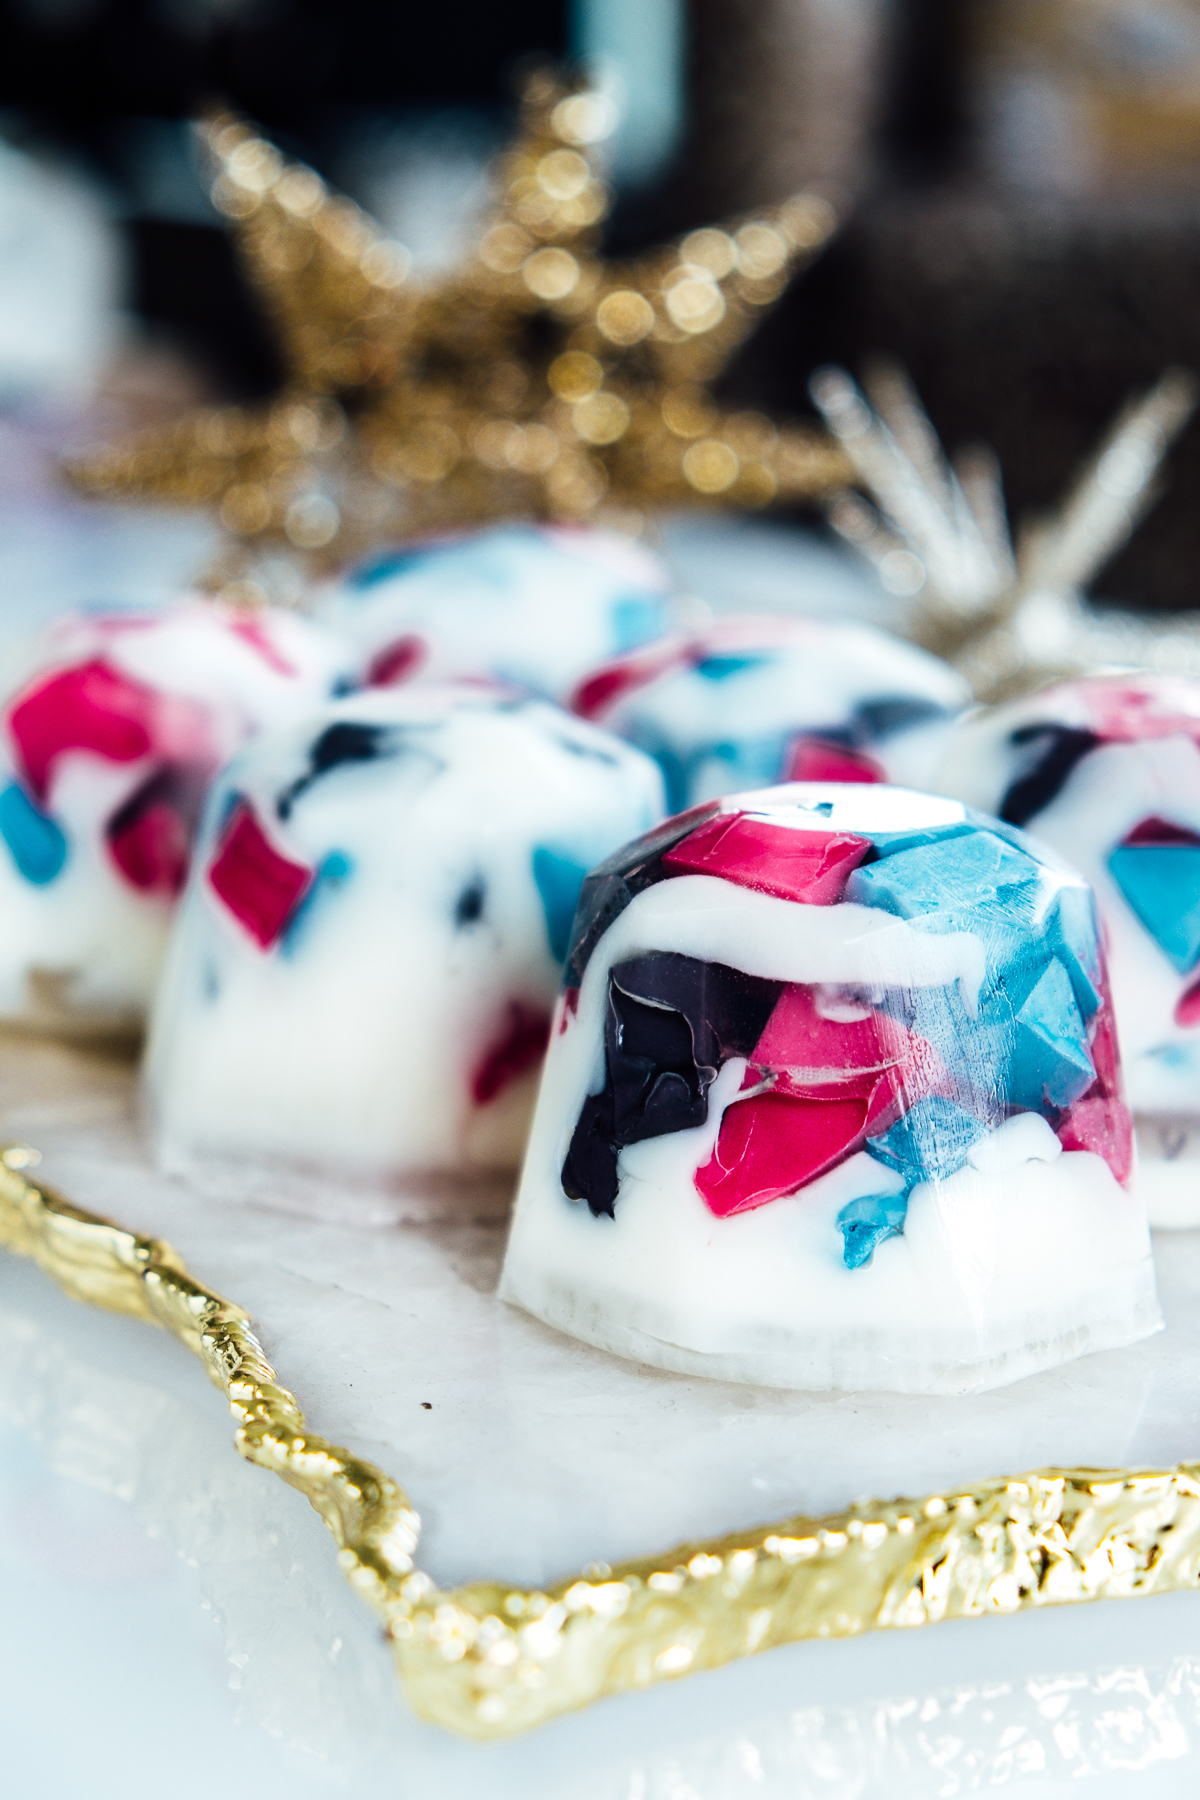
How To Make DIY Gemstone Soap


Recently I have been on a DIY kick. I’m not the best at crafts, but I do like to take a stab at them once in awhile. And pretty DIY gemstone soap called my name!
I made these one weekend along with DIY bathbombs that I will share later on the blog too. Because I do love my baths, so naturally I should save money and make my own 🙂
Making these DIY gemstone soaps really prettied up our bathroom and kitchen sinks. They’re natural, easy to make and really great for gifts! I made quite a few, so I did give a couple away to some friends. Next time, I want to make them again with different colours and take a stab at making amythest rock soaps.

I couldn’t believe how fun and inexpensive they are to make, another excuse to never purchase any again. Click through to get the tutorial!
How to Make DIY Gemstone Soaps
Supplies
- melt and pour soap base in clear and opaque
- soap colorants
- essential oils
- silicone mold
- knife
- glass pyrex pitchers
- silicone spatula
- disposable plastic or cardboard cups

Directions
Step One: To make all the different colours that you’ll need for your soaps, first create 6-9 solid coloured soaps. I used a combination of clear and opaque soap base and mixed in various soap colourants to create the colors I liked.
To melt down your soap base, carefully cut away small cubes of your melt and pour soap and pop a handful in the microwave in a pyrex pitcher. Don’t use plastic cups to melt your soap. Use your spatula to mix the base until it’s completely melted. At this point you’ll add in your desired essential oil(s) and colourants.
Step Two: Mix together and pour your colour into a disposable cup. You’ll repeat this for each colour you want to create. I ended up doing 3 (I thought I had another colour but didn’t). Let your soaps cure before moving on to the next steps. Try to leave them overnight, the longer the better for this step.
Step Three: Once your colourful soaps are done setting, take them out of their disposable cups. I ended up having to break the cups to get them out, which was totally fine since they were disposable. Next, slice up your soaps into various shapes and sizes. Set aside.
Step Four: To create the hand-cut gemstone soaps, I started adding the slices of colours into each mold. I liked adding a lot more to the bottom of the mold and making the pieces more sparse at the top. I also made sure to use colors randomly in order to get really unique looks. The best part that it’s trial and error, so don’t worry if they’re not perfect the first time you make these soaps.
Step Five: Melt a block of opaque and clear base in two separate glass pitchers. I found that having them hot and melted at the same time created a more organic look to the soaps in the end since one or the other didn’t get time to set too long before pouring in the other base. I started with the clear base and slowly poured it over each mold and finished it off with the opaque base filling it to the top. Let your soaps sit overnight or in the fridge for a few hours.
Step Six: Peel your soaps out of their molds. I loved this part! It was so neat to see how each one turned out and the variations.
Depending on what your used for a mold, you can start using a knife and slowly cut facets into each soap bar to create a gemstone.
You could spend $25 on a couple soap stones at a boutique, or you could make a bunch for the same price. The process is actually super fun, and I love the way these turned out!
A few more tips
- Save all of your scraps. You can cut them up and reuse them to make more soap!
- If you want to give them as gifts, wrap them in tissue paper or cellophane.


So cool! I’m for sure going to give this a try! 💕